Summary
Author’s note: These instructions are for projects that have already been created, and the process is not as straightforward as it should be in GitHub Desktop. I can’t find instructions for this particular step in the GitHub Desktop documentation, either–I just discovered them through trial and error. This is one step that I find easier to do in my text editor or on the command line.
To initialize a repo in an existing project, go to File > Add Local Repository.
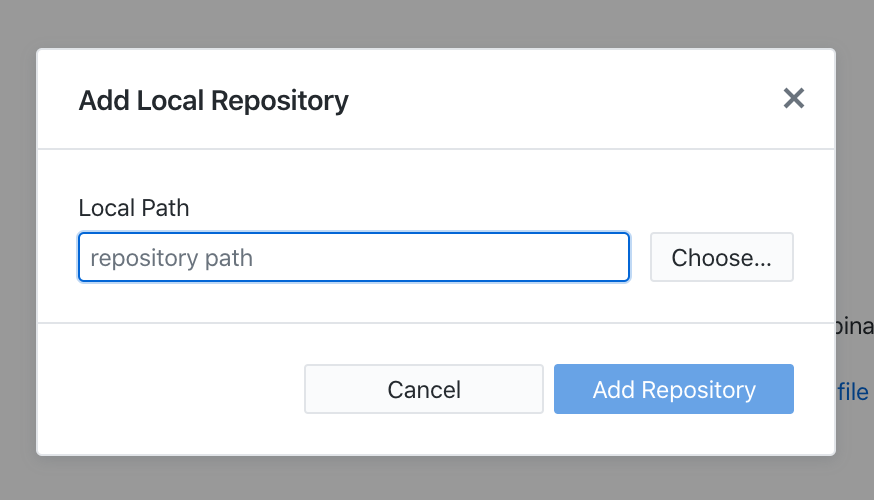
Use the Choose… button in the dialog that appears to search for and select your project folder. After selecting your project folder, you should see an option to create a repository instead. Click that option.
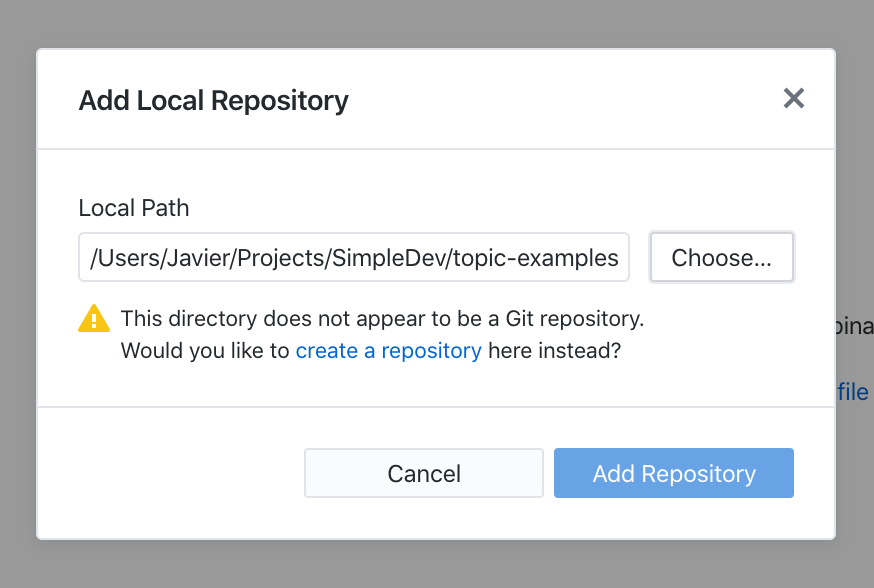
After clicking that option, your project should be set up as a Git repo. GitHub Desktop will automatically create a commit for you as well using this method, but you can hit the Undo button at the bottom to undo the commit if you don’t want to commit right away.

Details
Initializing a repo inside a project means you are setting up your project to use Git. Without this step, you won’t be able to use any of Git’s features, such as branching or committing. Initializing a repo only needs to be done once per project.
References
Adding a repository from your local computer to GitHub Desktop – GitHub Desktop Help
Adding an existing project to GitHub using GitHub Desktop – GitHub Desktop Help